When facing issues with an endoscopy light source, it becomes crucial to respond quickly. Understanding how to troubleshoot a failing endoscopy light source can save valuable time and ensure patient safety. An effective light source is vital during procedures, providing clear visibility for medical professionals.
In many cases, the problems may stem from simple issues, such as a burned-out bulb or loose connections. Nevertheless, failure in the light source can disrupt critical operations and compromise results. Addressing these faults can often be achieved through basic checks and maintenance routines.
Investigating the root cause is essential. Sometimes, a light source may flicker or fail unexpectedly. This might indicate a deeper electrical problem. Hence, regular testing and inspection can prevent larger issues. A proactive approach can preserve equipment reliability and maintain excellent patient care standards.
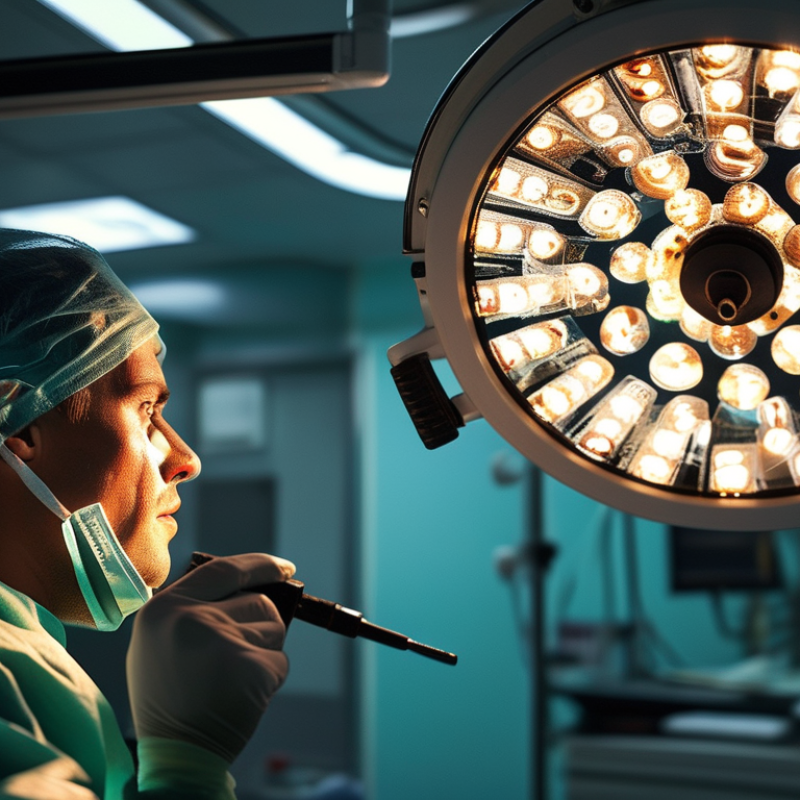
In the world of endoscopy, identifying a failing light source is crucial for effective procedures. A dimming light can indicate issues with the bulb or power supply. If the light flickers, it may suggest an unstable connection. Both symptoms can lead to poor visibility during examinations.
Another common sign is inconsistent illumination. If the light source operates fine at times but dims unexpectedly, it's worth investigating. Technicians should look for loose wires or wear and tear in the connections. Regular maintenance can help avoid these symptoms. Yet, many facilities overlook basic checks until problems arise.
Using an endoscope with a faulty light source can compromise patient safety. It’s essential to monitor how light intensity affects your work. Clear visibility is non-negotiable in endoscopic procedures. Reflecting on past experiences can help pinpoint when issues began. Regular training for staff on these symptoms enhances reliability in practice.
Maintaining an endoscopy light source is crucial for optimal functioning in medical environments. If the light source is dimming or flickering, immediate repair is necessary. Certain essential tools will help streamline the repair process effectively.
One of the critical tools needed is a multimeter. This device helps verify electrical connections and diagnose any faulty components in the light source. Additionally, a soldering iron is important for making quick repairs to damaged wiring. Ensure you have various solder types to suit different connections. A clean workspace with adequate lighting will also significantly enhance efficiency during repairs.
Tips: Always wear safety goggles to protect your eyes from any debris. Keep a checklist of steps to avoid missing any important repairs. If unsure about any procedure, consult a manual or a seasoned technician. It's essential to accept that not every repair will be successful on the first attempt. Reflect on your process and learn from any mistakes made along the way.
Endoscopy light sources play a critical role in visual clarity during procedures. When these devices fail, practitioners face unnecessary delays. Here are key troubleshooting techniques to address light source issues efficiently.
Begin by checking the power supply. Ensure all connections are secure. A loose cable could cause dim or flickering light. Inspect the bulb too. According to a study by the American Society of Gastrointestinal Endoscopy, nearly 30% of light-related issues stem from faulty bulbs. Replace them if necessary.
Another common issue is overheating. Excess heat can lead to shutdowns. To combat this, clean the vents regularly. Clogged vents restrict airflow, contributing to overheating. Employ an infrared thermometer to check the housing temperature. Safe operational temperatures should not exceed 60°C (140°F).
Tip: Always use a spare light source during procedures to minimize downtime. Additionally, schedule regular maintenance checks. A well-maintained light source is essential for optimal performance. Investing in ongoing training for your staff can also enhance troubleshooting skills, leading to fewer disruptions in service.
When dealing with a failing endoscopy light source, the power supply connections are vital. Start by inspecting the power cord and plug for any visible wear or damage. Look closely at the connections to ensure they are secure and free from corrosion. A loose or corroded connection can interrupt power flow, leading to light failure.
Replacing the bulbs is another critical step. Old bulbs may not only fail to provide adequate illumination but can also affect overall performance. Carefully remove the old bulbs and examine the sockets for any signs of wear. If they appear tarnished or damaged, consider replacing them as well. Use appropriate tools to handle the lighting components, ensuring safety is a priority. Remember, light sources are used frequently in endoscopic procedures; neglecting these details can lead to larger issues later on.
Preventive maintenance is essential for extending the lifespan of an endoscopy light source. Routine inspections help identify issues before they escalate. Checking light cables for wear and frays is crucial. A small crack may lead to light failure during an important procedure. Regular cleaning of the light source port prevents build-up, ensuring optimal brightness. Proper storage reduces accidental damage and maintains functionality.
When using an endoscopy light source, it's important to keep it cool. Overheating can cause long-term damage. Make sure cooling fans are clean and operational. Pay attention to any unusual noises; they might indicate issues. Staff training on proper handling is vital. They should know how to operate the equipment without risk of damage.
Documentation of maintenance activities is a helpful practice. Tracking repairs and replacements helps identify patterns. These records provide insights into the reliability of the equipment. If problems persist, it may be time to reflect on the maintenance routine. Regular assessment of protocols can enhance performance. Attention to detail can lead to successful outcomes in endoscopic procedures.
: Dimming light or flickering can indicate issues. Inconsistent illumination also suggests a problem.
Inspect the power cord and plug for damage. Ensure connections are secure and free from corrosion.
Replace the bulb as it may not provide enough light. Check the sockets for wear or damage.
It helps identify issues early. Small cracks in cables can lead to light failure unexpectedly.
Ensure cooling fans are clean and functional. Monitor for unusual noises that might signal issues.
Staff should learn proper handling of endoscopy equipment. This reduces the risk of accidental damage.
Track repairs and replacements to identify patterns. This can aid in evaluating equipment reliability.
Clear visibility is essential in endoscopic procedures. Dimming lights compromise patient safety significantly.
Yes, reflecting can help identify when problems began. It can guide future practices and maintenance.
Neglecting details might lead to larger issues. It can compromise both procedure outcomes and patient safety.
In the healthcare field, ensuring that endoscopy equipment functions properly is crucial, especially the light source, which is integral to visibility during procedures. "How to troubleshoot a failing endoscopy light source?" starts with identifying key symptoms, such as dim lighting or flickering, that indicate a potential failure. Once symptoms are recognized, essential tools and equipment are required for effective repair, including multimeters and replacement bulbs.
The guide progresses through step-by-step troubleshooting techniques, emphasizing the importance of checking power supply connections and replacing bulbs when necessary. Additionally, it highlights preventive maintenance tips designed to extend the lifespan of the light source, ensuring reliable operation in the long term. By following these approaches, healthcare professionals can swiftly address light source issues and maintain optimal performance in endoscopic procedures.

Centuri Medical