How to Integrate OR Systems with Endoscopy Imaging?

Time:2026-11-05 Author:Aria
0%

Integrating an operating room system with endoscopy imaging connects the camera, displays, recording tools, and room controls into a coordinated workflow. The goal is practical: clinicians should see the right image on the right screen without searching through menus or moving cables. A typical setup may include an endoscopy processor, surgical display, video router, documentation system, and central control panel. Each device must support compatible video formats and reliable signal routing. Small details matter.

Why integrate an OR system with endoscopy imaging? A well-planned connection can reduce manual switching, help teams share images, and support clear documentation. It may also make it easier to display endoscopic and other surgical views together, when the equipment and clinical workflow allow. These benefits depend on the room’s actual devices, not just a diagram.

Planning should involve surgeons, nurses, audiovisual specialists, and clinical engineering staff. They can map signal paths, confirm resolution and latency requirements, and decide where images need to appear. They should also review access controls, recording policies, and how equipment will be maintained. That takes testing. Teams need to check image quality and control functions under realistic conditions, then train users on common tasks and failure recovery. Compatibility can be messy, and a specification sheet may not reveal every limitation. A careful integration plan makes those limits visible before installation, while leaving room to improve the workflow after staff use it in practice.
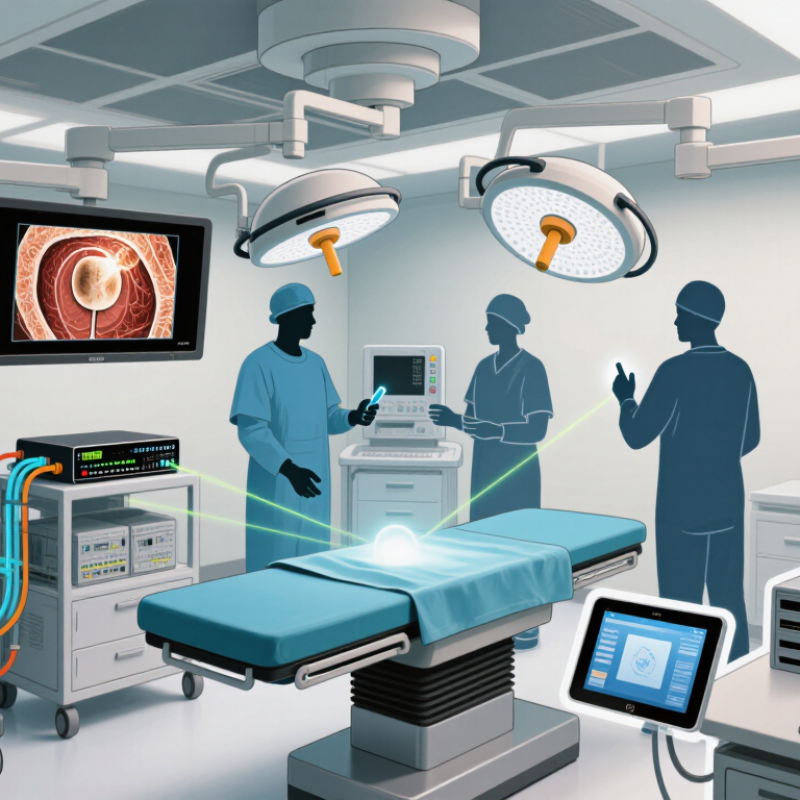
How to Integrate OR Systems with Endoscopy Imaging?

Operating Room Systems and Endoscopy Imaging: Core Components

An integrated endoscopy room is a coordinated signal path, not simply a large display. At the patient end, the scope, camera head, processor, and light source create the image. Video routing then sends it to surgical displays, recording systems, and approved remote endpoints. Keep routing visible. Staff should be able to identify which source feeds each screen and restore the image if a connection drops. That matters.

The core system also includes an integration controller, network connections, user controls, and links to clinical records. Teams should test resolution, color, latency, and recording quality with the actual scope and monitors used in the room. A crisp image on one screen can still be delayed or cropped on another. One gap worth examining: teams may test the picture but overlook who controls source switching during a procedure.

The World Health Organization’s Global Patient Safety Report 2024 estimates that about one in ten patients experiences harm in health care, with more than half of harm considered preventable. These broad figures do not show that room integration alone prevents harm. They do support careful system design: label inputs, secure cables away from sterile work areas, and define who responds to signal loss. Document the checks, too. A neat diagram is useful, but it cannot replace a real workflow test.

Assessing Imaging, Connectivity, and Workflow Requirements

How to Integrate OR Systems with Endoscopy Imaging?

Assessing Imaging, Connectivity, and Workflow Requirements

Integration starts with the room, not the equipment list. Observe a procedure and note where the endoscopy display must appear, who needs to see it, and when images enter the patient record. Check screen size, resolution, viewing distance, and whether glare obscures fine tissue detail. Test video routing, latency, and recording under real operating conditions. A few seconds of delay can disrupt a practiced handoff.

Connectivity needs equal scrutiny. Map each connection between the endoscopy processor, operating-room displays, recording systems, and clinical records. The Office of the National Coordinator’s 2023 interoperability data brief reported that 70% of U.S. hospitals routinely engaged in all four health-information exchange activities in 2021: sending, receiving, finding, and integrating data. That is a useful benchmark, not proof that a specific operating room is ready. Confirm formats, interfaces, access controls, and what happens when a connection fails. Small details matter.

Workflow assessment should include staff who use the system, not only those who install it. Follow who selects the image source, captures stills, labels recordings, and checks documentation. The 2023 Ponemon Institute Cost of a Data Breach Report estimated healthcare’s average breach cost at $10.93 million, underscoring the need to protect connected systems and recorded images. One uncomfortable question remains: does the setup reduce steps, or merely move them? Map the exceptions too. Rooms rarely behave like diagrams.

How to Integrate OR Systems with Endoscopy Imaging? - Assessing Imaging, Connectivity, and Workflow Requirements

Assessment Dimension Requirements to Confirm Practical Planning Considerations Example Acceptance Check
Imaging resolution and frame rate Supported output resolutions and frame rates for each endoscopy processor, camera, display, and recording endpoint. Common formats include 1920 × 1080 at 60 frames per second; some systems support 3840 × 2160. Confirm that every device in the signal path supports the selected format. Display and record a test image at the intended format without unexpected scaling, cropping, or loss of signal.
Video interfaces and signal path Available outputs and inputs, such as HDMI, 3G-SDI, or 12G-SDI, along with cable types, connector locations, and permitted cable lengths. Use compatible interfaces throughout the path, or specify suitable conversion equipment. Plan for cable routing, strain relief, and access for service. Verify each source-to-display route, including any converters or video-routing equipment, using the actual cables and room configuration.
Video routing and room displays Which sources must be viewed on which surgical displays, and how staff select or change sources. Document display destinations, default source selections, control locations, and behavior when a source is unavailable. Keep controls understandable during procedures. Confirm that staff can select the intended endoscopy feed at each display and recover from a disconnected or changed source.
Latency and image quality Acceptable end-to-end delay, image sharpness, color reproduction, and synchronization between video and any associated audio. Latency can be introduced by processing, conversion, routing, and display functions. Assess the complete signal path rather than individual devices in isolation. Clinicians review live images during a simulated procedure and confirm that delay, color, and detail are suitable for the intended use.
Recording and image capture Whether the workflow requires live video recording, still-image capture, or both; recording format, storage destination, and retention rules. Define who starts and stops recording, how captures are labeled, and how failed or interrupted recordings are identified. Confirm available storage and retention policies. Complete a test recording and still capture, then verify playback, image quality, timestamps, and association with the correct case.
Clinical information-system integration Required exchange of patient, encounter, procedure, and media information with scheduling, documentation, or image-management systems. Live video transport and clinical-record exchange are separate concerns. DICOM may be used for supported still images or studies; interface capabilities vary by system and workflow. Test patient and case selection, media transfer, identifiers, and retrieval using representative workflows and approved test records.
Network connectivity Whether devices use a network connection, required bandwidth, network segmentation, addressing, and approved communication paths. Do not assume that live video travels over the hospital network; many installations use dedicated video cabling. Networked devices should be reviewed with clinical engineering and IT. Confirm approved network routes and services, and verify that routine network activity does not interrupt imaging or documentation workflows.
Workflow and user interaction How the room is prepared, the case is selected, imaging is displayed, images are captured, and media is finalized after the procedure. Map the current and proposed steps with clinical staff. Minimize duplicate data entry and ensure that essential actions remain available if an integration is temporarily unavailable. Run a simulated case from room setup through case closeout with the intended staff roles and document delays, workarounds, or unclear controls.
Safety, cleaning, and room layout Equipment placement, electrical and cable safety, access to controls, and compatibility with cleaning and infection-prevention procedures. Keep equipment and cables clear of staff movement, sterile fields, and emergency access. Follow facility policies and device instructions for cleaning and installation. Conduct a room walk-through and confirm that connections remain accessible without creating trip hazards or interfering with clinical tasks.
Cybersecurity and access control Device accounts, software updates, remote access, logging, and handling of patient information. Use facility-approved security controls and network policies. Identify who maintains each device and how vulnerabilities or service requests are handled. Review configuration and support access with IT, and verify that only authorized users can access protected information and administrative settings.
Reliability and downtime planning Expected recovery behavior, spare equipment or cables, support ownership, and procedures for loss of video or connectivity. Document a practical fallback workflow that preserves essential clinical functions. Define escalation contacts and routine checks for critical signal paths. Simulate a source or connection failure and confirm staff can identify the issue, use the approved fallback, and resume normal operation.

Selecting Interfaces and Designing the Integration Architecture

How to Integrate OR Systems with Endoscopy Imaging?

Selecting Interfaces and Designing the Integration Architecture

Start by mapping what must move, where it goes, and how quickly staff need it. Endoscopy video, still images, patient identity, procedure orders, and room status may use different interfaces. DICOM can support image and study exchange; HL7 can carry patient and order messages. Live video routing may require a separate, low-latency pathway. The right choice depends on existing systems, clinical workflows, and what happens when a connection fails.

ONC’s 2023 Report to Congress states that 96% of U.S. non-federal acute care hospitals had adopted certified electronic health records by 2021. That widespread adoption makes reliable exchange important, but it does not guarantee smooth integration. Design a clear architecture: connect devices through a managed network, route clinical messages through an integration layer, and record timestamps consistently. Test the full workflow, from patient selection to image retrieval. A small mismatch in identifiers can create a confusing record. That detail is easy to miss.

Tips: Confirm interface specifications with each system’s technical team before purchasing. Test video delay, image transfer, and network failure in a simulated procedure. Keep a manual fallback; integration is not infallible.

Connecting Endoscopy Equipment to the Operating Room System

Connecting endoscopy equipment to an operating room system takes more than plugging in a video cable. Map each scope processor to the correct display, recording path, and room control interface. Confirm supported video formats, resolution, frame rate, and audio routing before clinical use. Then test the full chain with the room lights dimmed and the surgical display in its usual position. Small details matter.

A clear setup lets the team view the endoscopic image on the intended monitor and, where configured, capture it with the procedure record. Check that timestamps and patient or procedure identifiers transfer correctly; never assume connected systems share metadata automatically. The World Health Organization’s 2024 Global Patient Safety Report estimates that about one in ten patients experiences harm in health care, while more than half of harm is preventable. This broad figure does not prove that OR integration prevents harm, but it underlines why dependable workflows deserve careful testing. Walk through common failures, including a disconnected source, a frozen image, or a recording that does not start. Document who owns each connection and how staff can restore the image. Integration can still feel clumsy when cables crowd the cart or controls differ between rooms. That deserves a second look, not a quick workaround.

Testing, Securing, and Maintaining the Integrated System

Testing should cover the full path from the endoscope to the room display, recording system, and clinical record. Check image clarity, color, and latency during ordinary use, not only during a polished demonstration. A moving instrument should remain visible without distracting delay. Test still-image capture, playback, and audio routing as well. Keep a written record of the results, including the room, device configuration, and any failed test.

Security needs practical checks. Confirm that staff access follows job roles, shared accounts are avoided, and inactive sessions lock as intended. Keep imaging equipment on appropriately separated network segments, and review connection logs for unexpected traffic. Updates should be planned with clinical engineering and information security staff, then verified in a controlled test before deployment. A rushed update can create downtime. That risk deserves attention.

Maintenance is more than replacing a cable after the picture disappears. Inspect connectors for looseness, check cable strain near carts, and verify displays and recording functions on a regular schedule. Retest after room changes or software updates. One weakness in many plans is relying on memory; a simple checklist helps, though it can become box-ticking. Ask staff what feels slow or confusing during a procedure, then investigate those observations. A neat test report does not always reflect a busy operating room.

FAQS

What components form an integrated endoscopy room?

The scope, camera head, processor, and light source create the image. Routing sends it to displays, recording systems, and configured remote endpoints. Controls and network links complete the setup. Not just a screen.

How should teams test image quality?

Use the actual scope and monitors. Check resolution, color, latency, and recording quality across each display. Look for cropping or delay, even when one screen looks crisp. Test with room lights dimmed.

Why map video routing?

A routing map shows which source feeds each screen. Label inputs and keep connections visible. Staff can respond when a signal drops. A diagram alone is not enough.

What should a workflow assessment cover?

Observe a procedure and identify who selects sources, captures stills, labels recordings, and checks records. Ask when images enter the patient record. Include system users, not only installers. Does it remove steps, or just move them?

How can teams check patient-record connections?

Verify formats, interfaces, and access controls. Check that timestamps and patient or procedure identifiers transfer correctly. Connected systems may not share metadata automatically. Test what happens when a connection fails.

What failures should teams rehearse?

Practice handling a disconnected source, frozen image, or recording that does not start. Assign responsibility for each connection and image restoration. Avoid relying on a quick workaround.

How can teams reduce cable and cart problems?

Secure cables away from sterile work areas. Check whether crowded carts make controls harder to reach. Some rooms still feel clumsy. That deserves a second look.

Does room integration alone prevent patient harm?

No. Broad health-care estimates do not prove that room integration prevents harm. Clear labels, careful testing, and assigned response roles support dependable workflows. They do not replace a real workflow test.

Conclusion

Why integrate an OR system with endoscopy imaging? A well-designed integration connects endoscopic images and video with the operating room’s displays, recording tools, and workflow controls, helping clinical teams access relevant information efficiently during procedures. Planning begins with the core components, including imaging equipment, room systems, displays, and network connections, followed by an assessment of image quality, connectivity, user needs, and existing workflows.

The integration architecture should use compatible interfaces and clearly defined signal paths to connect endoscopy equipment to the OR system. Installation should be followed by end-to-end testing to confirm image transmission, display selection, recording, and reliable operation. Security measures, access controls, documentation, and routine maintenance help protect system availability and support consistent performance over time. By addressing these requirements together, healthcare facilities can create an integrated environment suited to their procedures and day-to-day operating room needs.

Aria

Aria

Aria is a dedicated marketing professional with a deep passion for innovative strategies and a keen understanding of our company's product offerings. With a wealth of experience in the industry, Aria excels at crafting engaging content that highlights the unique features and benefits of our......